
UPDATE 25 FEB 2021: SOLD. Another instance of “this bike is not getting ridden at all”, I decided to break it down and move it on, allowing someone else to enjoy the process of building this frame as they saw fit.
I needed a winter project, and I wanted to build a bike. And I knew pretty much what I wanted to build.
Having not had a steel road bike since the Wheeler w/Shimano 105 (back in the mid 90’s, it was my first), I thought it was time for another. The Bianchi Ti Megatube was the upgrade from the Wheeler, and it’s been aluminum ever after, with the Scott Speedster, and then the Bianchi M Alloy Pro I picked up last year. After a few weeks back on the Megatube in France, and as much as I love the M Alloy Pro, an old steel Bianchi was my goal for this project. I just love the colour, and they seem to fit me well, too. Something I could beat up on Dublin’s roads or through the city, that I’d be less afraid of locking to a bike rack – things not possible with the M Alloy Pro – but still enjoy riding, would be ideal.
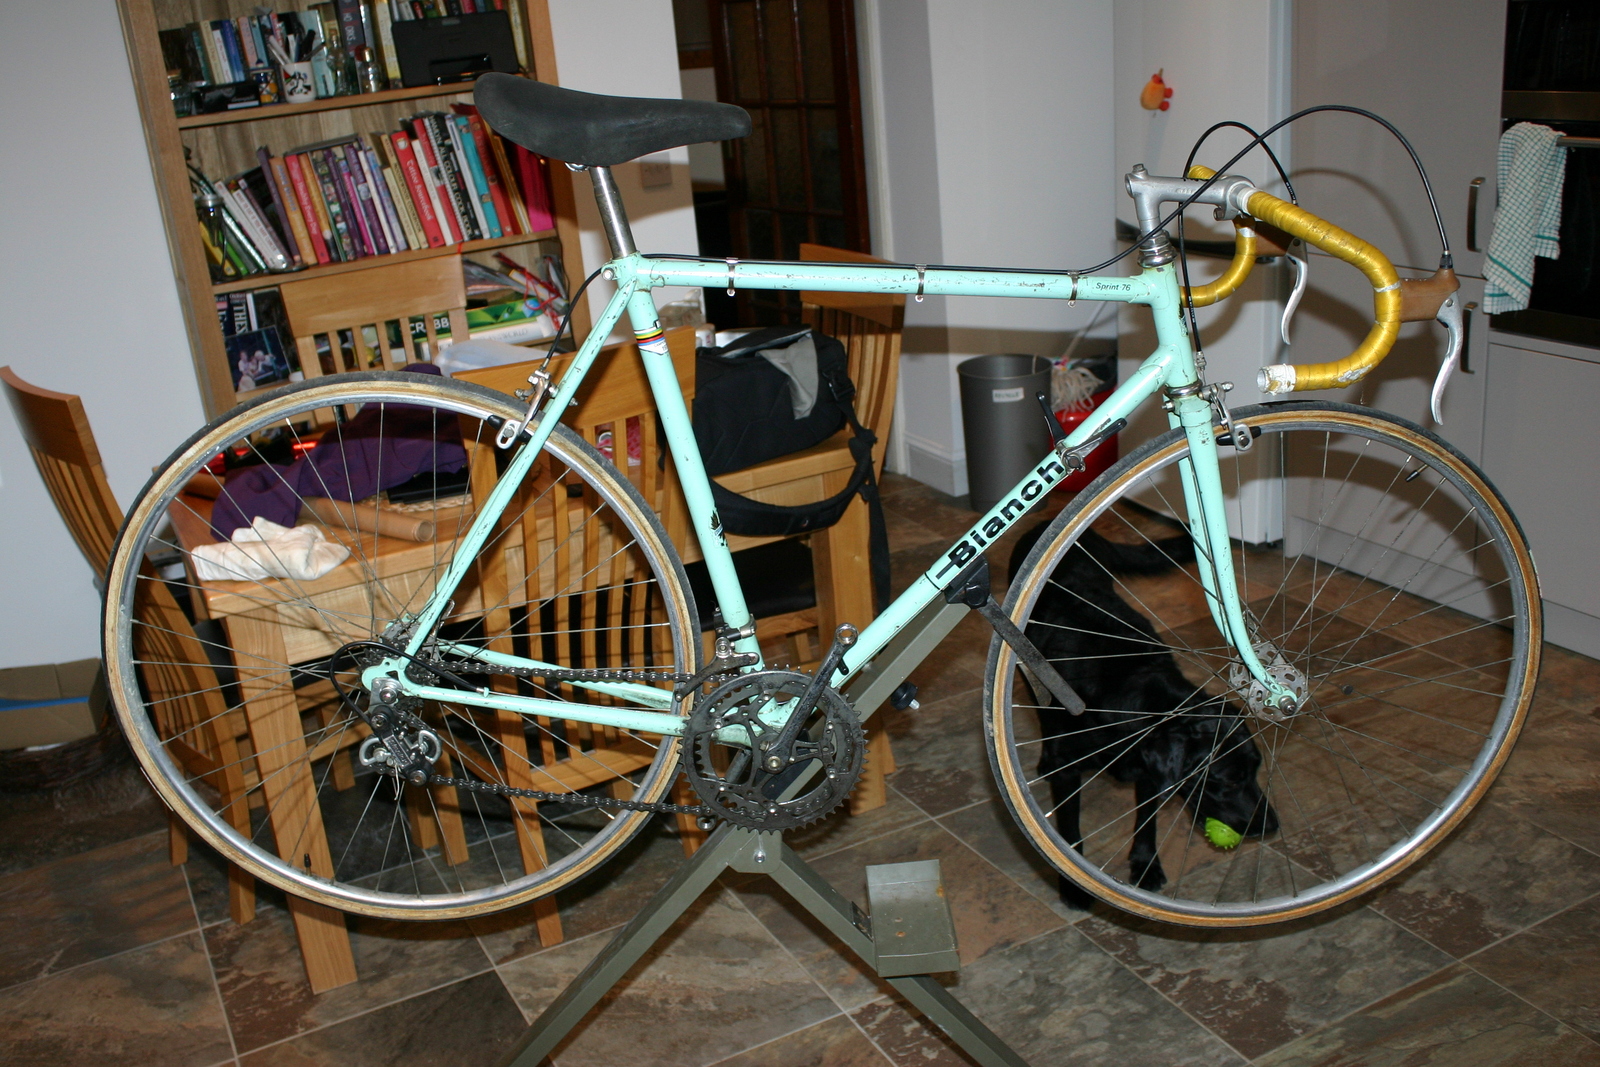
As purchased, ready to tear down.
When I found the 57cm Bianchi Sprint 76 for sale locally (more or less, on the Cork side of Waterford), I thought this was definitely a “do-able” project. A decent Bianchi, secondhand, isn’t easy to find in Ireland, and here’s one on my doorstep that’s nearly exactly what I was after: not perfect, some slight surface rust, no dents, straight, not worthy of a full-blown nut-and-bolt restoration, but in need of a complete overhaul if it was to see the road again.
What was wrong with it (without a full inspection prior to purchase)? For my purposes, nothing that couldn’t be overcome. I had already started acquiring parts that would upgrade the M Alloy Pro’s Campagnolo 9-speed Mirage/Veloce to 10-speed Chorus. The 9-speed stuff would go onto whatever I was going to build – again, an old Bianchi should suit perfectly.
After only seeing photos online, with the old Simplex 5-speed & badly-mounted downtube shifters with 27in tubulars… I bought it.
The Bianchi Sprint 76 would not be the ideal starting point for many. They were the bottom of the Bianchi line when new, the frame was made by “Chiorda” and not particularly sought after now. In fact, I was recommended (by one biking forum) to search for another, better frame to hang my Campagnolo Mirage/Veloce bits on. But I had this one now, the frame, fork & headset all seemed in nice shape, and all I’d need for this bike, to make it accept modern running gear, were relatively minor things: a rear derailleur hanger adapter, a front derailleur braze-on clamp, a new square-taper bottom bracket (to replace the cottered original), downtube cable stops (to replace the downtube shifters), extended-reach nut-mounted brakes (though I ended up using the old ones), and to cold-set the frame to accept a larger rear hub (to 130mm, up from 120mm).
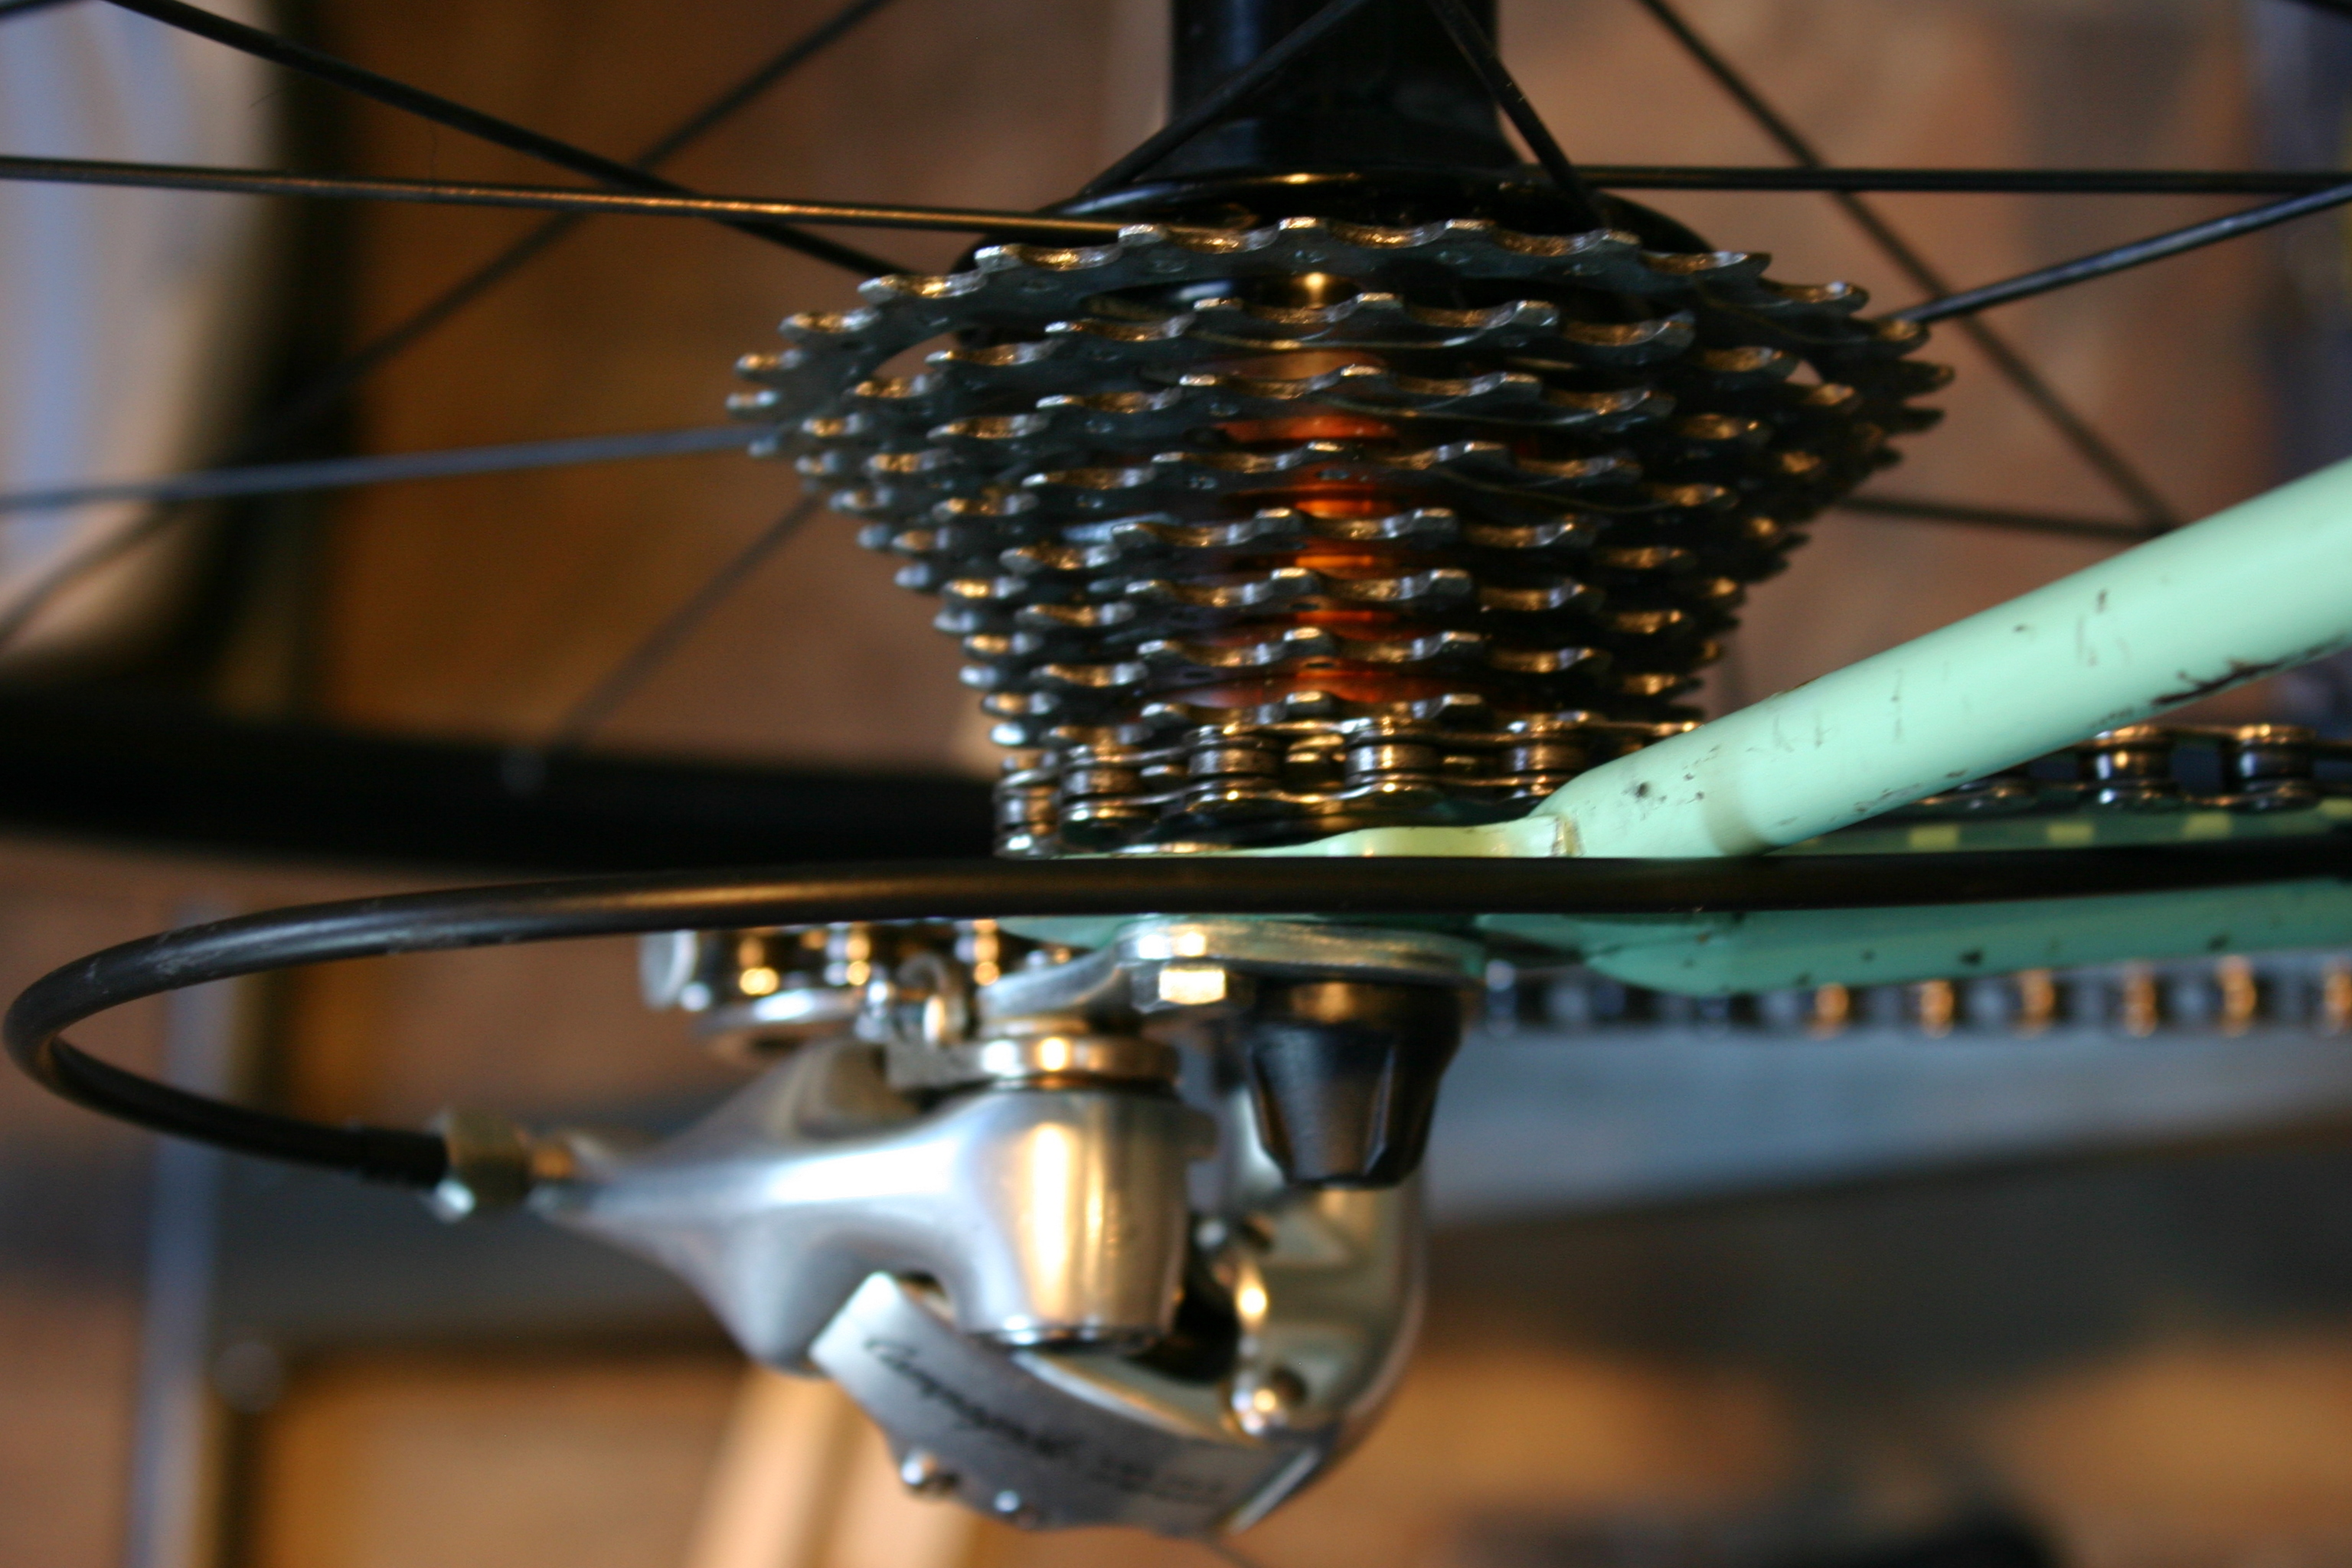
9-speed modern gearing.
After it arrived and I got it assembled (mostly, as I was going to break it down immediately), I got to have a closer look at things. The bars were slightly bent, but otherwise she was perfect (for my purposes). The bottom bracket felt like it was full of rocks. I didn’t even try to ride it – the cables were frayed and the cable housing was pretty rotten, nevermind the completely perished tubular tyres floating on the wheels. They held air, but that was about it.
So the “general overview” of the project was:
- remove old bits from both bikes
- put upgraded stuff onto the M Alloy Pro
- put old stuff (and some new stuff) onto the Sprint 76
In-between those steps were quite a few more steps (obviously, like carefully bending the bars to be straight). I got to learn about cottered cranks (very easy), Italian-threaded bottom brackets (easy to remove, but a pain to install), and cold-setting a steel frame (not too difficult). Getting the frame to spread took a little time & patience, and I ended up adding a couple spacers (I drilled out two large washers to 10mm diameter to fit the rear axle) so the 9-speed cassette would clear the frame. Now it’s all together, and it works.
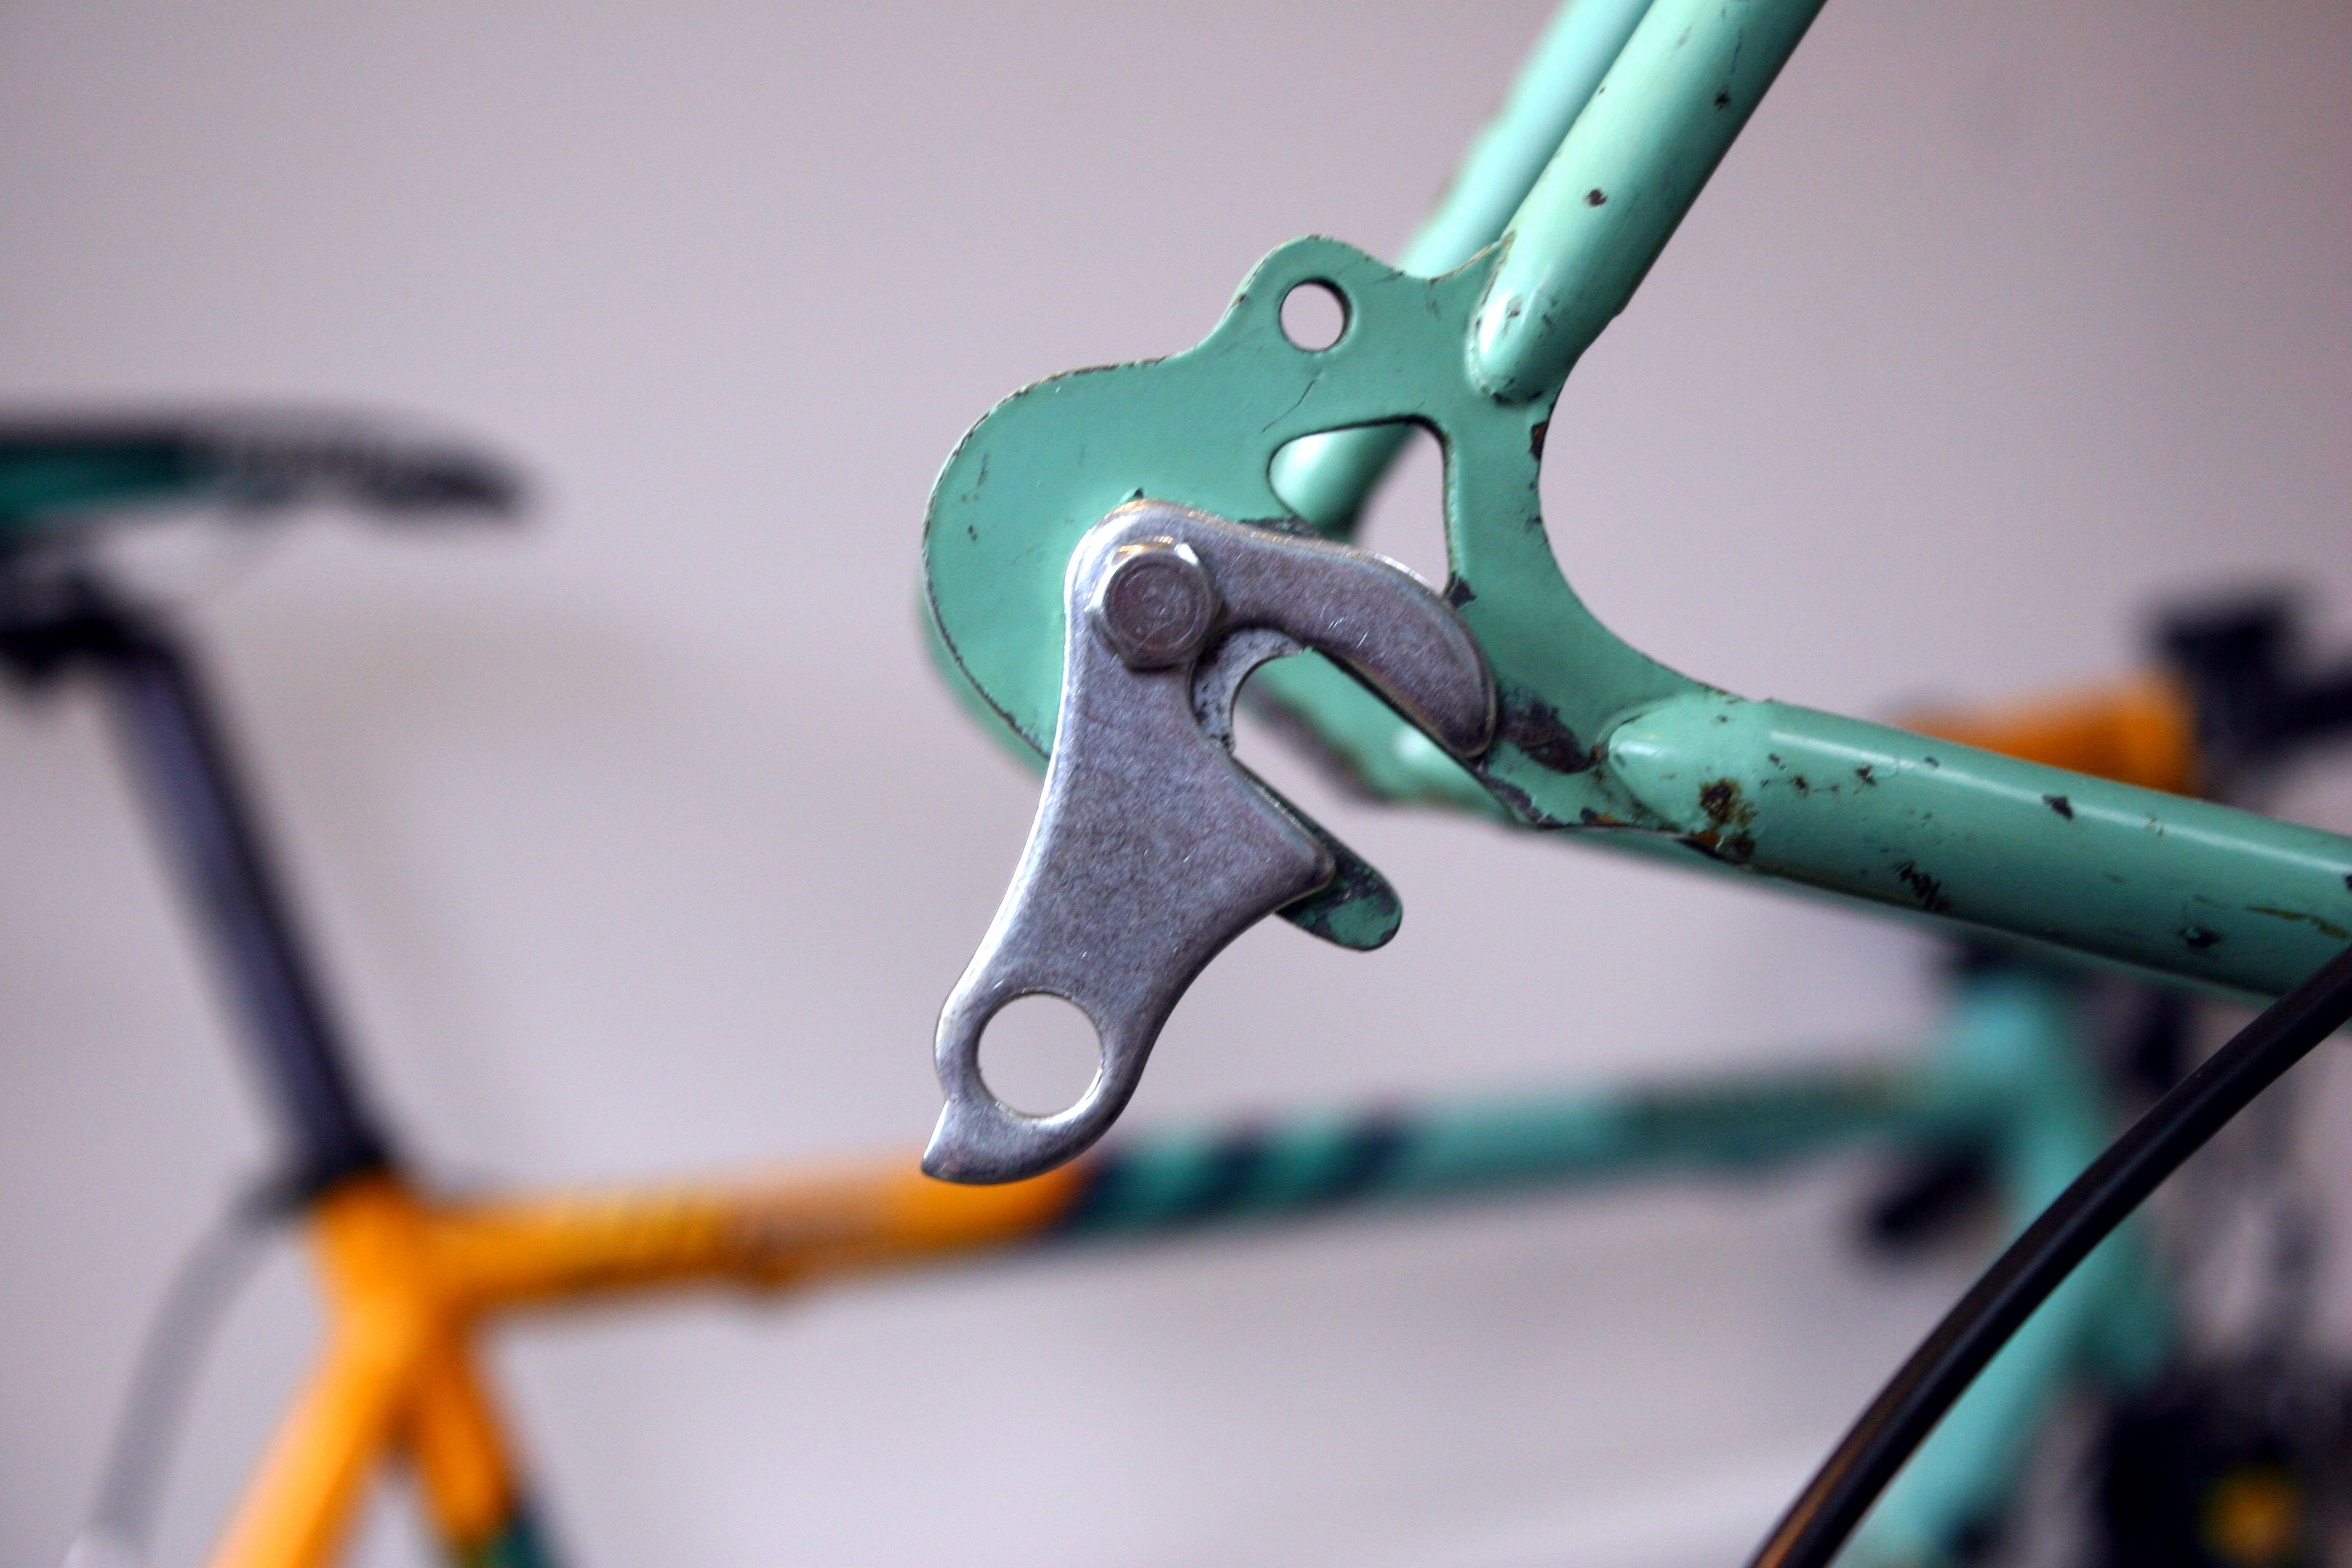
Adapter to hang a modern derailleur.
The biggest potential expense (beside the bike itself) would have been a new wheelset – but I got lucky. Somebody in the UK listed a set of Campagnolo Khamsin wheels on eBay, not new but unused, and I picked them up for less than €80 shipped to my door. When I unwrapped them I was expecting less than what I got, as they really were completely unused! This was definitely the “deal of the day” for me. (A used set of Campagnolo Khamsin wheels sold for €200, on a local cycling web forum, just a few days later.)
The only real doubt I had was the routing of the front derailleur cable. The original front derailleur had a cable stop at the derailleur itself, and as I wasn’t using the original derailleur I obviously couldn’t use this. What I did was to simply run the cable housing underneath the bottom bracket and up toward the new modern front derailleur, then let the bare cable go the rest of the way to the derailleur. It shifts without problems, so I think this is as good and simple a solution (without drilling the frame at the bottom bracket for a cable guide) as I could hope for.
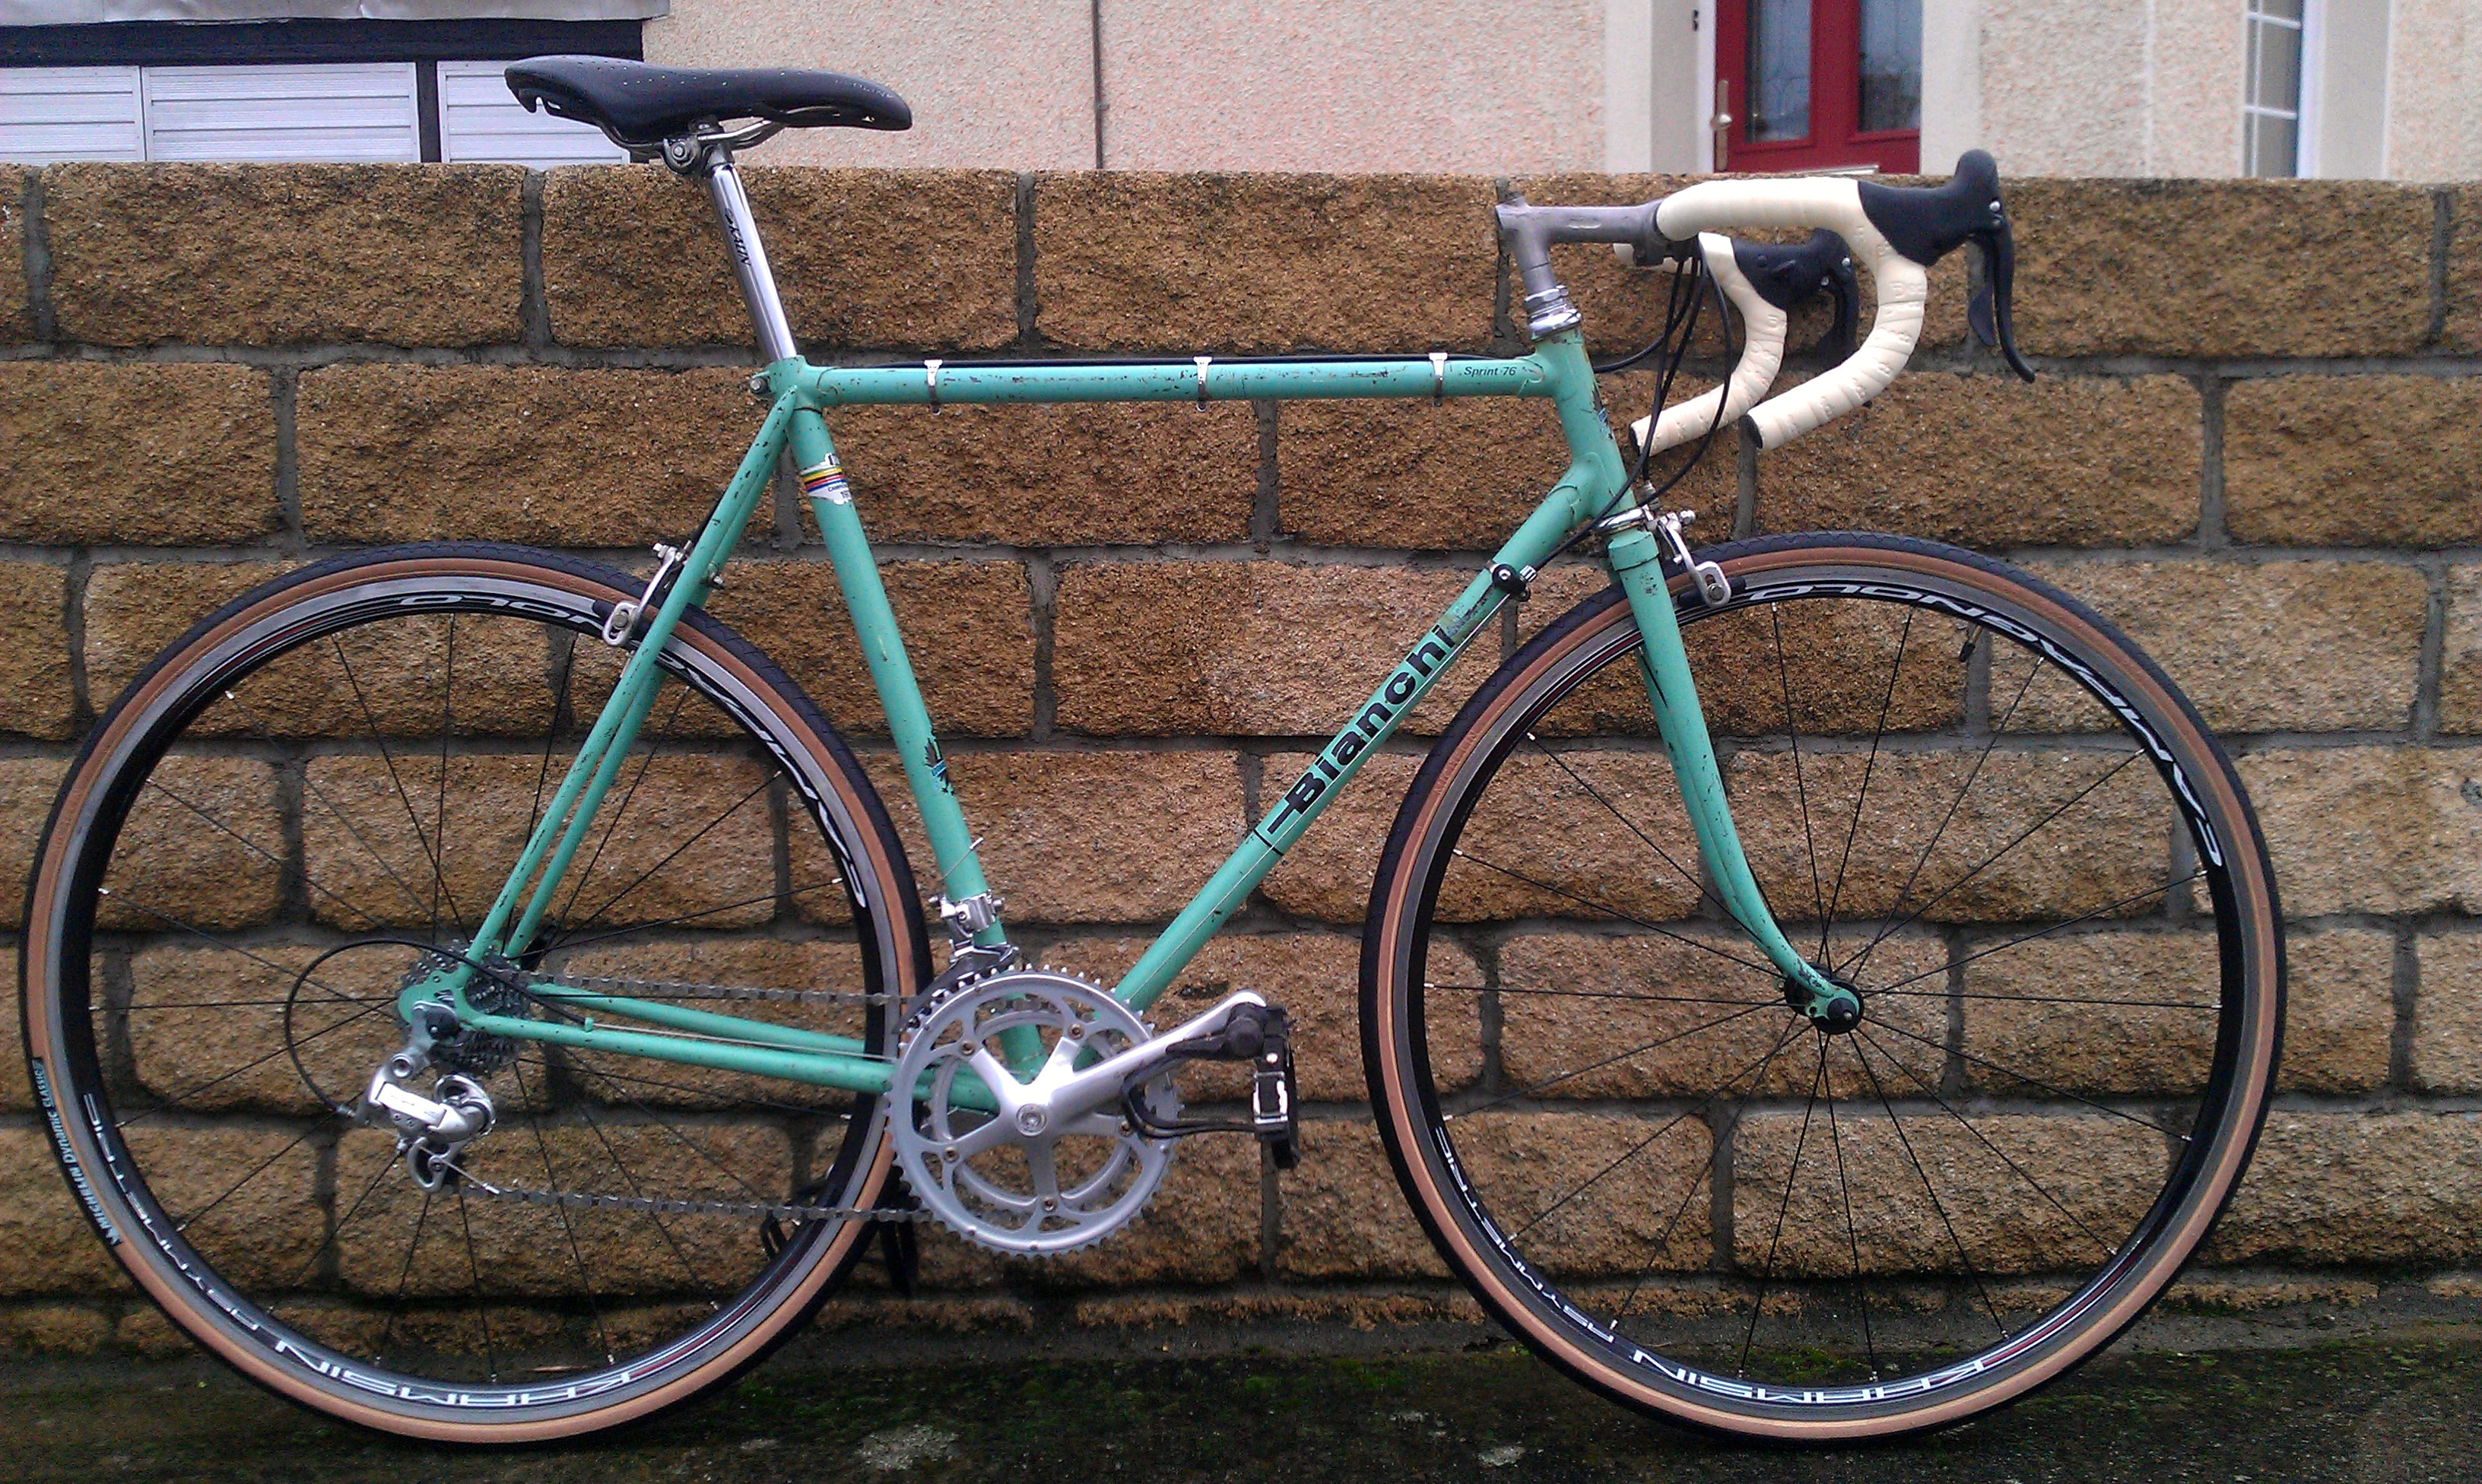
Build completed – first test ride.
Major adjustments done, all that was left was the test ride and “fine tuning”. Unbelievably, no further adjustments to the derailleurs was necessary! (I must be getting better at this…) As the frame geometry is really close to the M Alloy Pro, I based the seat height on that bike, and it feels good. Shifting is smooth, and so is the ride: I intended to only take it around the block a couple times and make adjustments if necessary, but it felt so nice I didn’t want to stop! I kept on going to a park not quite within walking distance (where we walk the dog) and tooled around.
I found the seatpost didn’t want to stay where I initially put it, but luckily I brought a wrench just for that (in case it felt wrong and needed to adjust). Since I tightened the binder bolt pretty damn snug, I’ll make a shim out of a cut-up Pepsi can – apparently it works really well, and will only cost €1 (or less if I steal an empty from the bin).
I’m also going to go for a white seat (which I’m waiting for, in the post). This one – a Selle Italia C2 gel – is nice (though used and worn, but that’s fine), and I can rationalize the black to go with black wheels, pedals and shift levers. but I think a white seat will work better with the “ivory” bar tape.
The slightly larger 25mm tyres feel great on the road, absorbing the terrible Dublin northside streets. Or is it just the difference between aluminium and steel frames? Who knows – it’s lovely and smooth, and that’s all that matters. The brakes are shit, but I figure new brake pads will improve that a hundredfold. It’s 11kgs (compared to 8kgs for the M Alloy Pro), which will present a big difference when I take the M Alloy Pro out for fast runs.
It was great fun tearing it apart, cleaning, fixing, replacing, assembling and adjusting. Now I should get out on the bikes more, to justify the next project!
UPDATE 24-Nov-2016: The Colnago Competition (see other post) had a Rolls saddle on it, which was completely out of place on the Colnago, but perfectly placed on the Sprint 76. I’ve come to appreciate and enjoy this bike too much to use it as a city commuter (that’s what the Klein Pulse MTB is now for), so it’s now my winter trainer / “something different” fun bike.
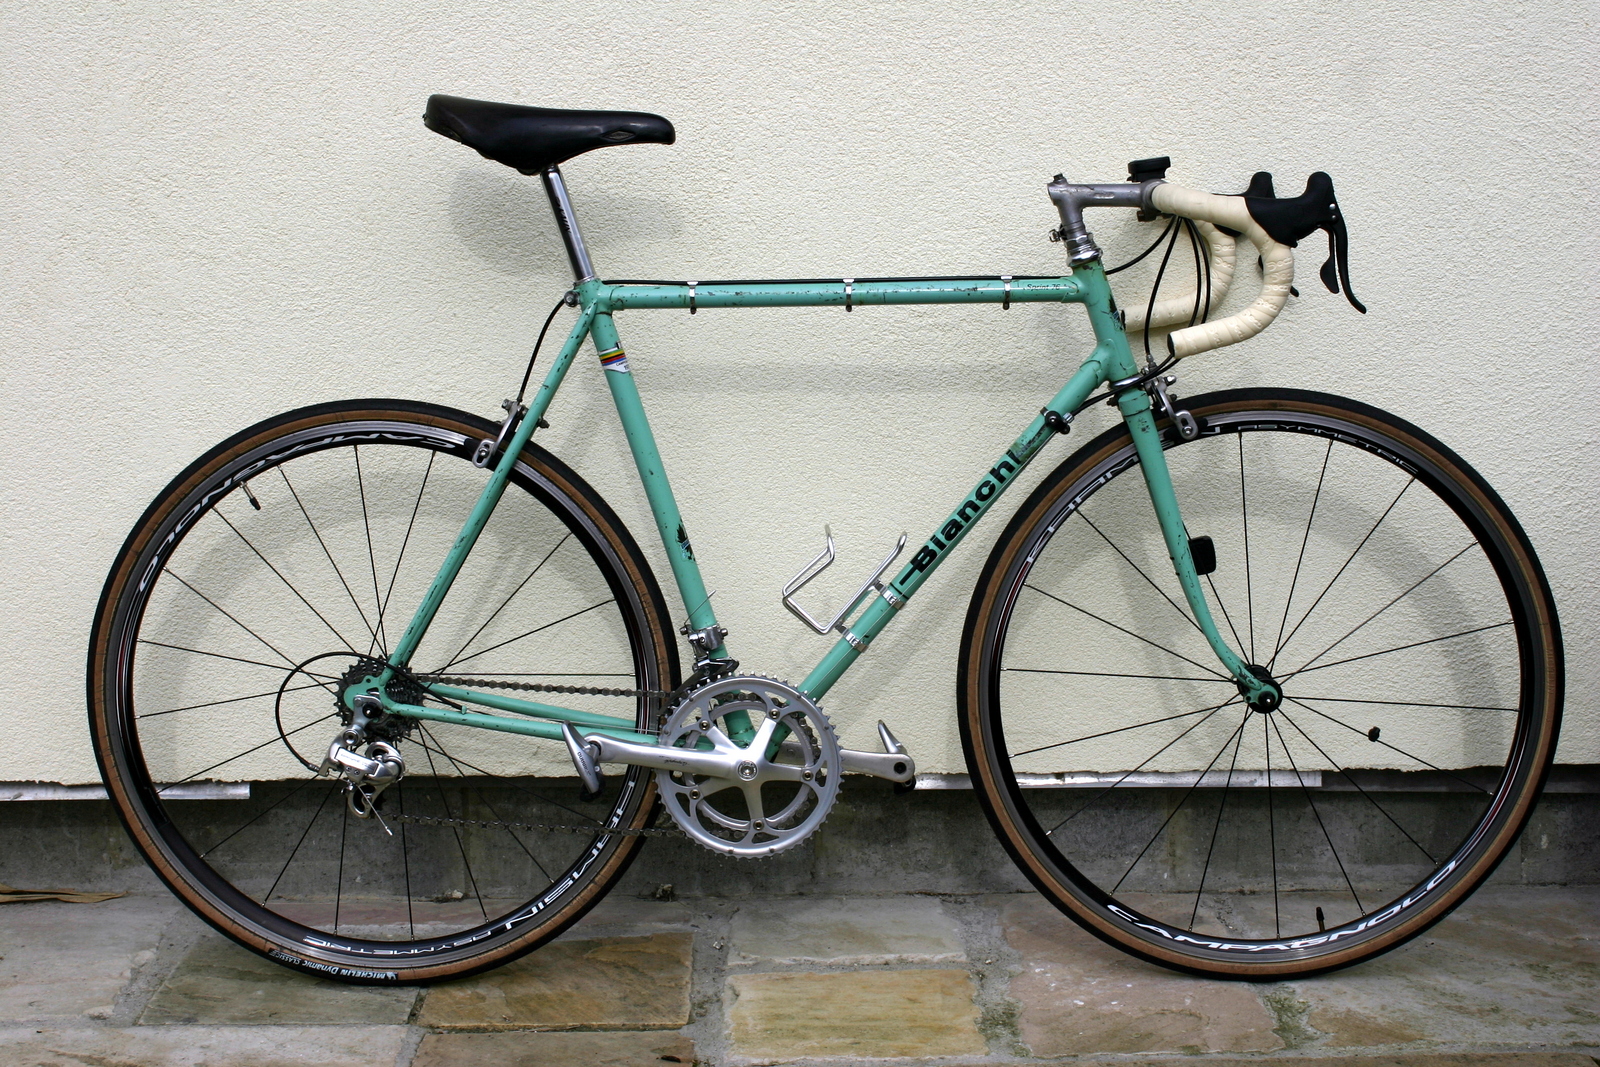
In current setup, with a hand-me-down Rolls saddle.